目前我在使用 cx_Freeze 对 python 程序打包成可执行文件,但是 cx_Freeze 的核心功能是将 Python 脚本、Python 解释器以及所有依赖的库文件打包到一个独立的可执行文件(如 Windows 下的 .exe 文件)或一个包含所有文件的目录中。打包后的文件中包含的是 Python 的字节码 .pyc 文件,这个文件是可以被反编译回近似的源代码的。通过使用 Cython 将 Python 源代码编译成 C 语言,然后再生成本地二进制文件(.pyd)。然后正常使用 cx_Freeze 打包,这样做可以极大地提高代码的保护级别,防止被轻易逆向。
安装必要的 Python 包
需要安装 Cython 和 Numpy,在终端或命令行中运行:
pip install Cython numpy
安装 C/C++ 编译器
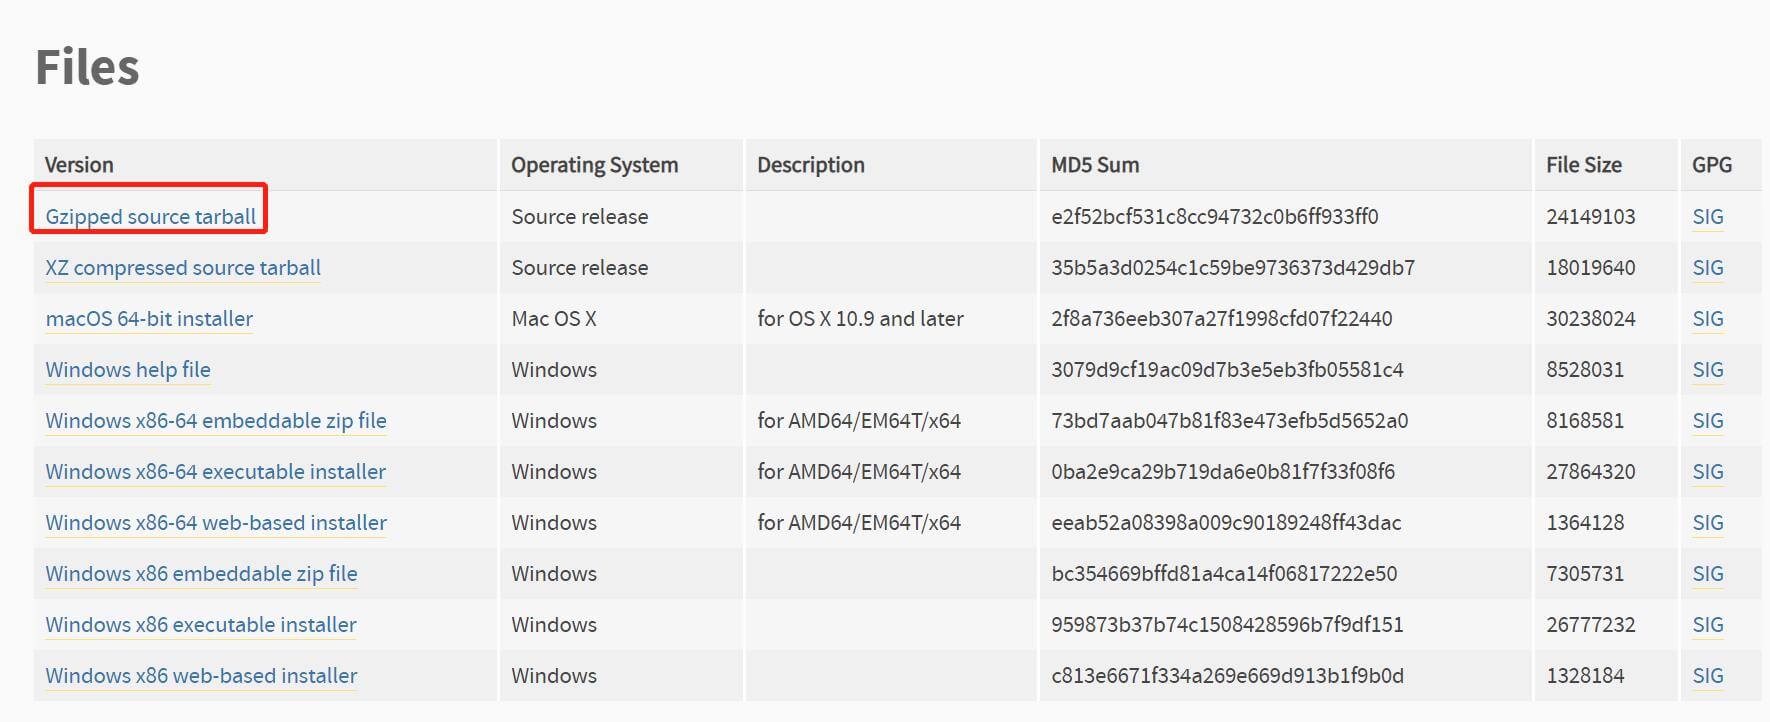
Cython 将 Python 代码转换成 C 代码,但最终需要一个 C 编译器来将 C 代码编译成机器码。这是最关键的一步。
对于 Windows 用户:
对于 macOS 用户:
打开终端并运行 xcode-select --install。这会安装苹果的命令行开发者工具,其中包含了 Clang 编译器。
对于 Linux 用户 (例如 Ubuntu/Debian):
打开终端并运行 sudo apt update && sudo apt install build-essential。
修改 setup.py 文件
如果项目目录结构如下:
/my_project
    |-- main.py           # 你的主程序文件
    |-- /src              # 你的其他模块目录
    |   |-- func1.py
    |   |-- func2.py
    |-- setup.py            # cx_Freeze 的配置文件
根据以上目录结构,下面是一个配置文件示例:
from cx_Freeze import setup, Executable
import sys, os, io

# =============================================================================
# Cython 自动化编译集成
# =============================================================================
try:
    from Cython.Build import cythonize
    from setuptools import Extension
    import numpy
except ImportError:
    print("\n[错误] 缺少必要的库。请先安装 Cython 和 Numpy:")
    print("pip install Cython numpy")
    sys.exit(1)

sys.stdout = io.TextIOWrapper(sys.stdout.buffer, encoding='utf-8')  # 修复非中文系统打包时报错

# 增加递归调用深度限制
sys.setrecursionlimit(1500)

# 定义相关路径
ROOT_DIR = os.path.dirname(os.path.abspath(__file__))
ENTRY_POINT = "main.py"

# 检查是否为打包命令
build_commands = {"build", "bdist_msi", "bdist_dmg", "bdist_mac"}
is_building = any(cmd in sys.argv for cmd in build_commands)

# --- Cython 编译配置 ---
# 此函数会自动查找 src 目录下的所有 .py 文件并准备将它们编译
def find_extensions_to_compile(dir_path="src"):
    """Find all .py files to be compiled by Cython."""
    extensions = []
    # 添加 numpy 的头文件路径,这对于编译依赖 numpy/scipy 的代码至关重要
    numpy_include = numpy.get_include()

    for root, dirs, files in os.walk(dir_path):
        for file in files:
            # 我们只编译 .py 文件,但跳过 __init__.py 文件
            if file.endswith(".py") and file != "__init__.py":
                path = os.path.join(root, file)

                # 检查文件是否包含 numba 相关代码
                try:
                    with open(path, 'r', encoding='utf-8') as f:
                        content = f.read()

                    # 检查是否包含 numba 关键字
                    numba_keywords = ['from numba import', 'import numba', '@jit', '@njit', 'numba.jit', 'numba.njit']
                    has_numba = any(keyword in content for keyword in numba_keywords)

                    if has_numba:
                        print(f"--- 跳过包含 Numba 的文件: {path}")
                        continue

                except Exception as e:
                    print(f"--- 警告:无法读取文件 {path}: {e}")
                    continue

                # 将文件路径转换为模块路径,例如 "src/library/function.py" -> "src.library.function"
                module_path = path.replace(os.sep, '.')[:-3]

                extensions.append(
                    Extension(
                        name=module_path,
                        sources=[path],
                        include_dirs=[numpy_include]  # 包含 numpy 头文件
                    )
                )
    print(f"--- 找到 {len(extensions)} 个模块准备通过 Cython 编译...")
    return extensions

# 仅在执行打包命令时才准备编译列表
extensions = []
if is_building:
    # 1. 编译 src 目录下的所有模块(自动排除包含 numba 的文件)
    extensions.extend(find_extensions_to_compile("src"))

# =============================================================================
# cx_Freeze 配置
# =============================================================================

# 安装依赖
build_exe_options = {
    "packages": [
    ],
    "excludes": ["email"] + [ext.name for ext in extensions], # 排除 Cython 编译的模块
    "include_files": [
        ],
    "includes": [],

    # 性能优化选项
    "optimize": 2,           # 使用Python优化
    "include_msvcr": False,  # 不包含MSVC运行库
}

# 基础设置
base = "Win32GUI" if sys.platform == "win32" else None

directory_table = [
    # ...
]

shortcut_table = [
    (
        # ...
    ),
    (
        # ...
    ),
]

msi_data = {"Directory": directory_table, "Shortcut": shortcut_table}

bdist_msi_options = {
    # ...
}

executables = [
    Executable(
        "main.py", # 入口文件 依然调用 py 程序,cx_Freeze 会自动识别并使用加密后的文件
        # ...
    )
]

# =============================================================================
# 清理函数
# =============================================================================
def cleanup_generated_files():
    """查找并删除由 Cython 生成的所有 .c 文件。"""
    print("\n--- 正在运行清理程序:删除生成的 C 文件... ---")
    for root, dirs, files in os.walk(ROOT_DIR):
        # 避免进入不相关的目录
        if 'myenv' in root or '.git' in root or 'build' in root or 'dist' in root:
            continue
        for file in files:
            if file.endswith('.c'):
                file_path = os.path.join(root, file)
                try:
                    os.remove(file_path)
                    print(f"--- 已删除: {file_path}")
                except OSError as e:
                    print(f"--- 删除失败 {file_path}: {e}")

# =============================================================================
# 执行打包
# =============================================================================

try:
    setup(
        # ...
        # 关键步骤:将找到的 .py 文件交给 Cythonize 进行编译
        ext_modules=cythonize(
            extensions,
            compiler_directives={'language_level': "3"}, # 使用 Python 3 语法
            quiet=True # 减少不必要的编译输出
        ) if is_building else [],
        # ...
    )
finally:
    # 只有在执行打包命令时才运行清理
    if is_building:
        cleanup_generated_files()
运行打包命令打包即可,如:
python setup.py bdist_msi
检查加密情况
安装完成后,进入安装路径的 Lib/site-packages 文件夹,会看到加密后的 .pyd 程序文件。.pyd 文件是 Windows 上的二进制动态链接库,本质上和 .dll 文件一样。如果加密失败:会在这里看到 .pyc 文件或者甚至原始的 .py 文件。
Python 包管理约定:
- 普通 .py 文件:可以放在任何 Python 路径中
- 扩展模块 (.pyd/.so):通常放在 site-packages 中
cx_Freeze 的处理逻辑:
- 检测到 .py 文件 → 按源码文件处理 → 保持原目录结构
- 检测到 .pyd 文件 → 按扩展模块处理 → 放入 site-packages
模块导入机制:
- import src.library.function
- Python 会在 sys.path 中搜索
- 不加密:在 lib/ 中找到 src/library/function.pyc
- 加密:需要在 lib/site-packages/ 中找到 src/library/function.pyd
由于加密后的文件路径发生了变化,打包后访问加密后文件中的内容会报错,所以主程序在索引时需要特殊处理加密打包后的路径问题,主程序中使用下面函数可以自适应:
# 路径修正代码
def fix_module_paths():
    """修正打包后的模块搜索路径"""
    if getattr(sys, 'frozen', False):  # 检查是否为打包后的可执行文件
        # 获取可执行文件所在目录
        base_dir = os.path.dirname(sys.executable)

        # 可能的src模块路径
        possible_src_paths = [
            os.path.join(base_dir, 'lib', 'site-packages'),  # Cython编译后的位置
            os.path.join(base_dir, 'lib'),  # 标准位置
            base_dir,  # 根目录
        ]

        # 将可能的路径添加到sys.path的开头
        for path in possible_src_paths:
            if os.path.exists(path) and path not in sys.path:
                sys.path.insert(0, path)
                print(f"Added to Python path: {path}")

        # 特别检查src目录
        src_path = os.path.join(base_dir, 'lib', 'site-packages', 'src')
        if os.path.exists(src_path):
            parent_dir = os.path.dirname(src_path)
            if parent_dir not in sys.path:
                sys.path.insert(0, parent_dir)
                print(f"Added src parent directory to Python path: {parent_dir}")

# 执行路径修正
fix_module_paths()
以上函数中,会将 src 文件夹下的函数库进行正确的索引。
Numba 装饰器问题
Numba 不兼容 Cython 编译后的函数。Numba 装饰器(如 @jit, @njit)期望装饰的是普通的 Python 函数,但 Cython 编译后生成的是 cython_function_or_method 类型,导致 Numba 无法识别。
需要将包含 numba 的文件排除出编译列表。具体可见 setup.py 函数。
]]>

